The Pudding Trolley Project
What it was
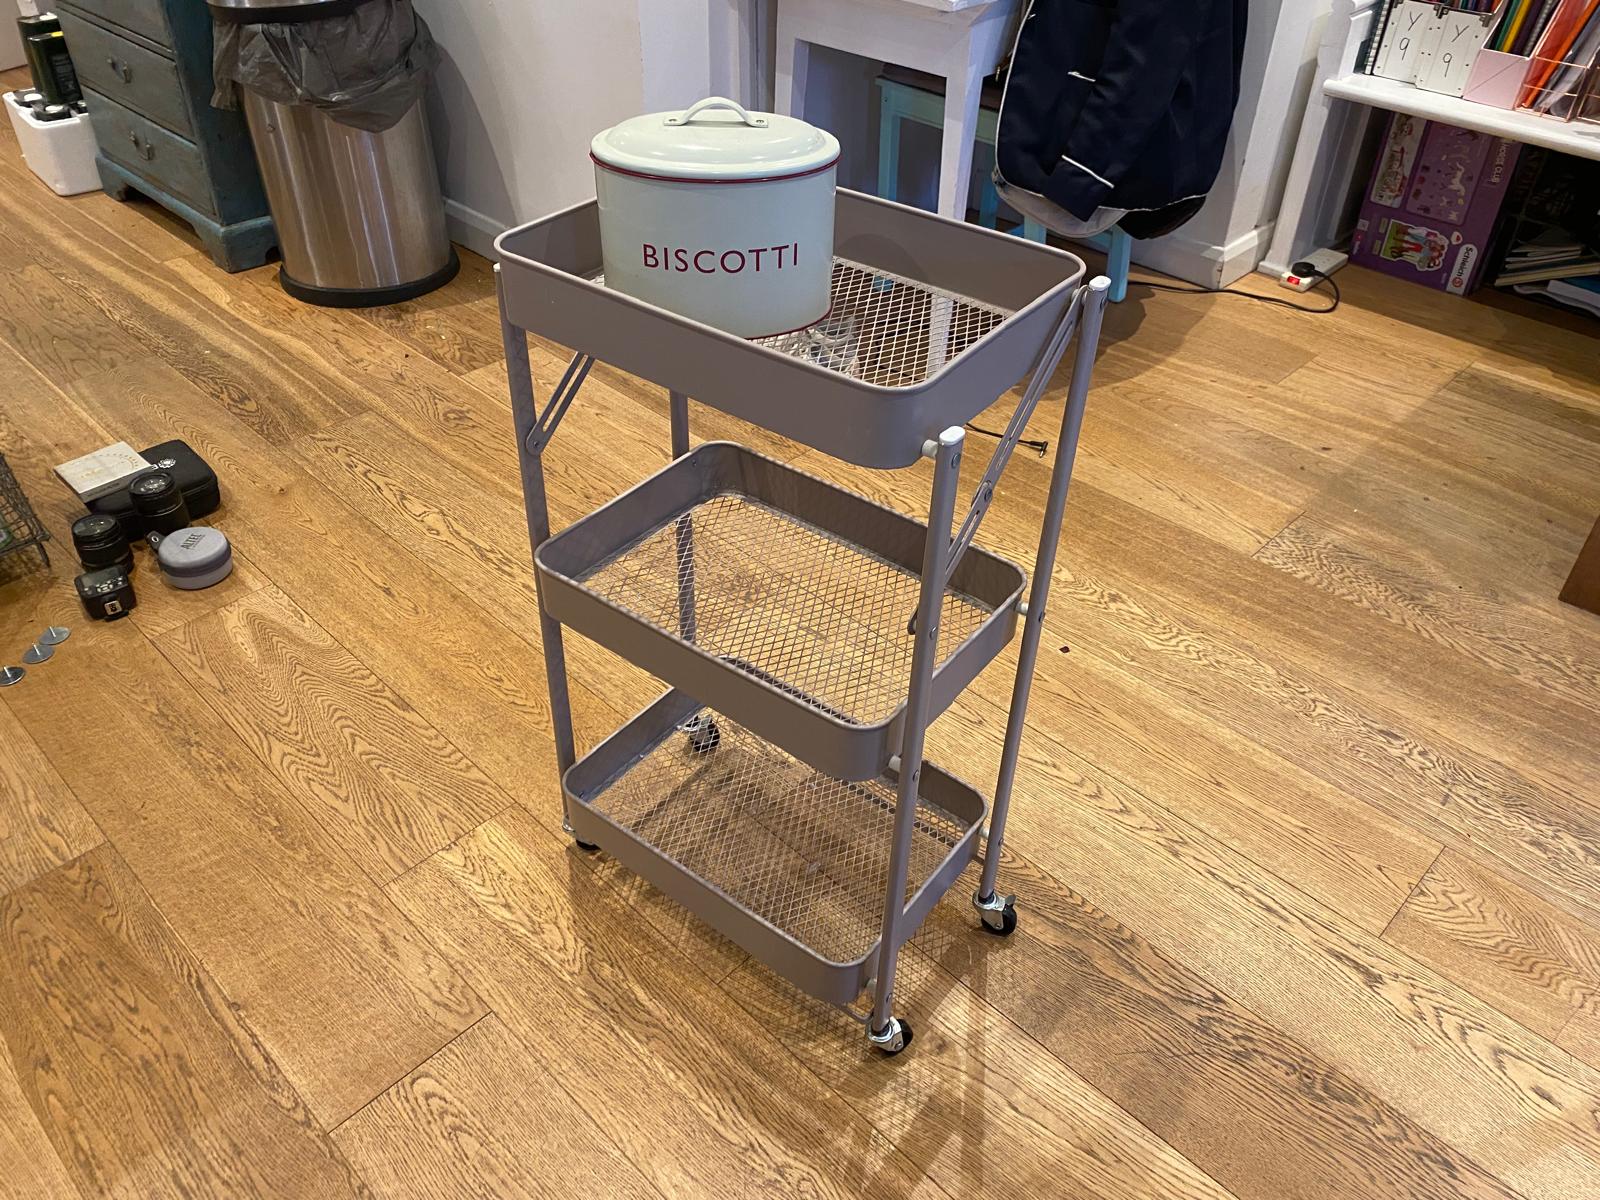
As a result of a long-running family joke, we bought my mum a small second-hand pudding trolley, to wheel puddings (usually yoghurt or overripe grapes) the 92 centimetres from the kitchen counter to dining table. However, this pudding trolley had one problem; it could not drive itself! So I decided to fix that, and thus ensued the Pudding Trolley Project.
Design
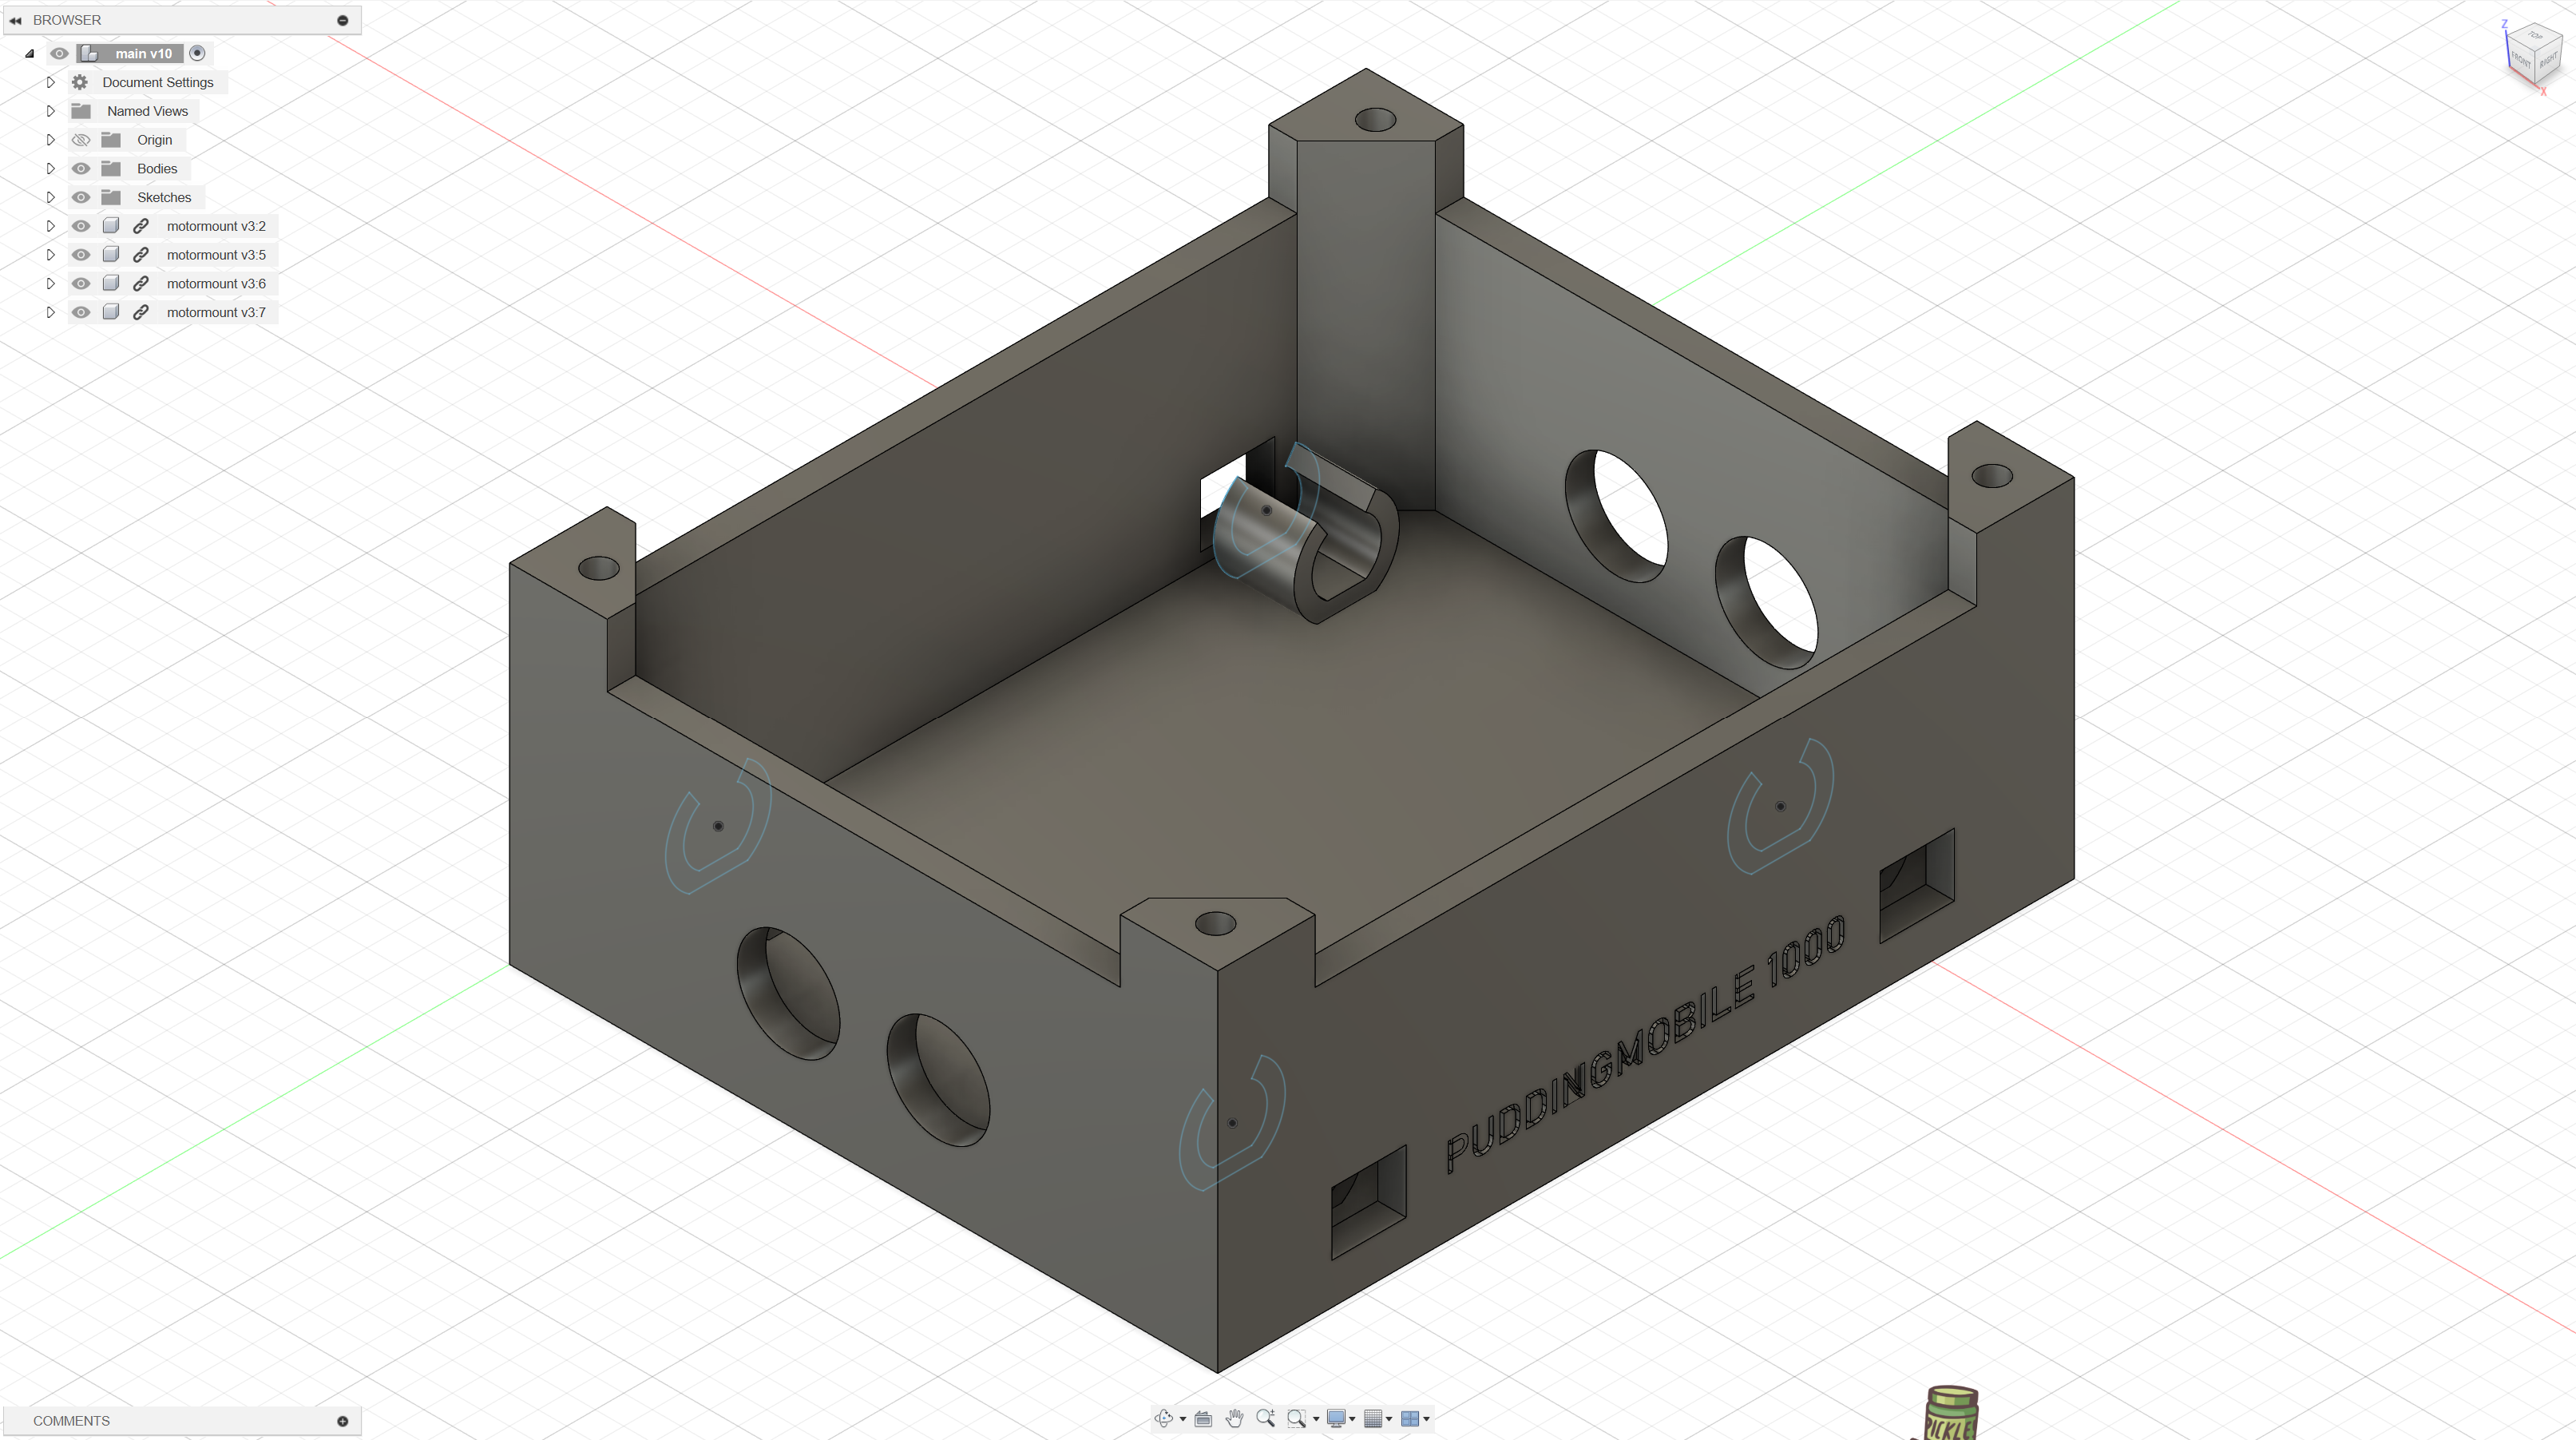
I went through a number of design iterations, trying to figure out the simplest, most efficient design to move the pudding trolley. It would be powered by an Arduino Nano (from AliExpress) with 4 small brushed gearbox DC motors (also from AliExpress). Having all this mounted on the trolley itself was the original plan, but it was difficult to find large enough wheels with a small enough bore, so I opted for a standalone RC vehicle that would somehow pull/drag the trolley along with some mounting system. Pulling from the front would be simple, but have reduced mobility; a pivot directly underneath would maximise mobility but would need to be very strong; so finally, this is the design I went for. Each of the four holes slot into screws dangling through the mesh of the bottom rack of the trolley, reducing the load on each of them and providing a firm connection while allowing the vehicle to potentially spin on the spot.
Electronics
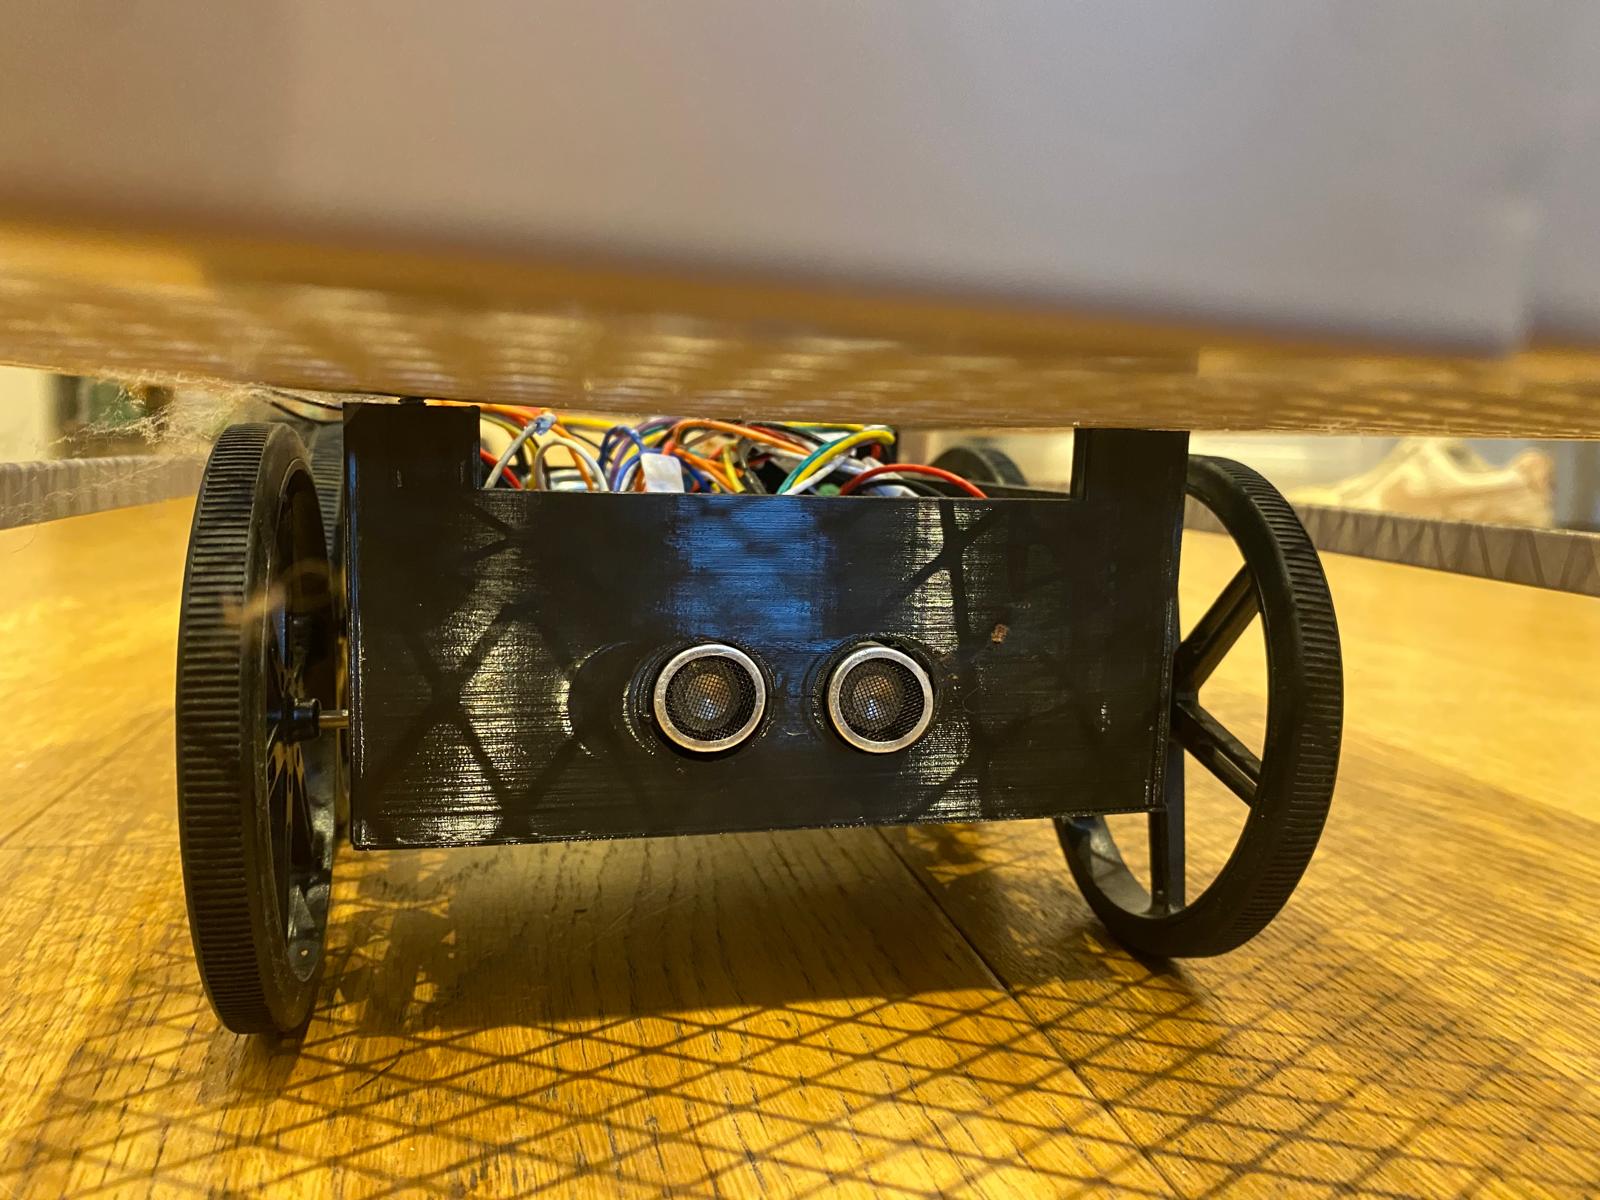
After some torque & desired speed calculations with weight and wheel diameter factored in, I settled on motors and completed the electrical engineering. It used two DRV8871 motors drivers connected to two motors each, so two motors for the left side and another two for the right. A gyroscope was built in to allow for future speed calculation, but I haven’t made that part yet. A small speaker amp was included to play tones sounding like God Save The King (I originally planned to play it from an SD card to have the full song, but I ran into problems with other components on the I2C interfering with it.) I even put a small ultrasound distancing sensor to automatically stop if about to run into an obstacle. All ran from an 11.1V li-ion battery connected with an XT30 connector, fed through a voltage sensor to estimate capacity. The controller was just another Arduino Nano on a breadboard, communicating to the vehicle with an NRF24L01 module.
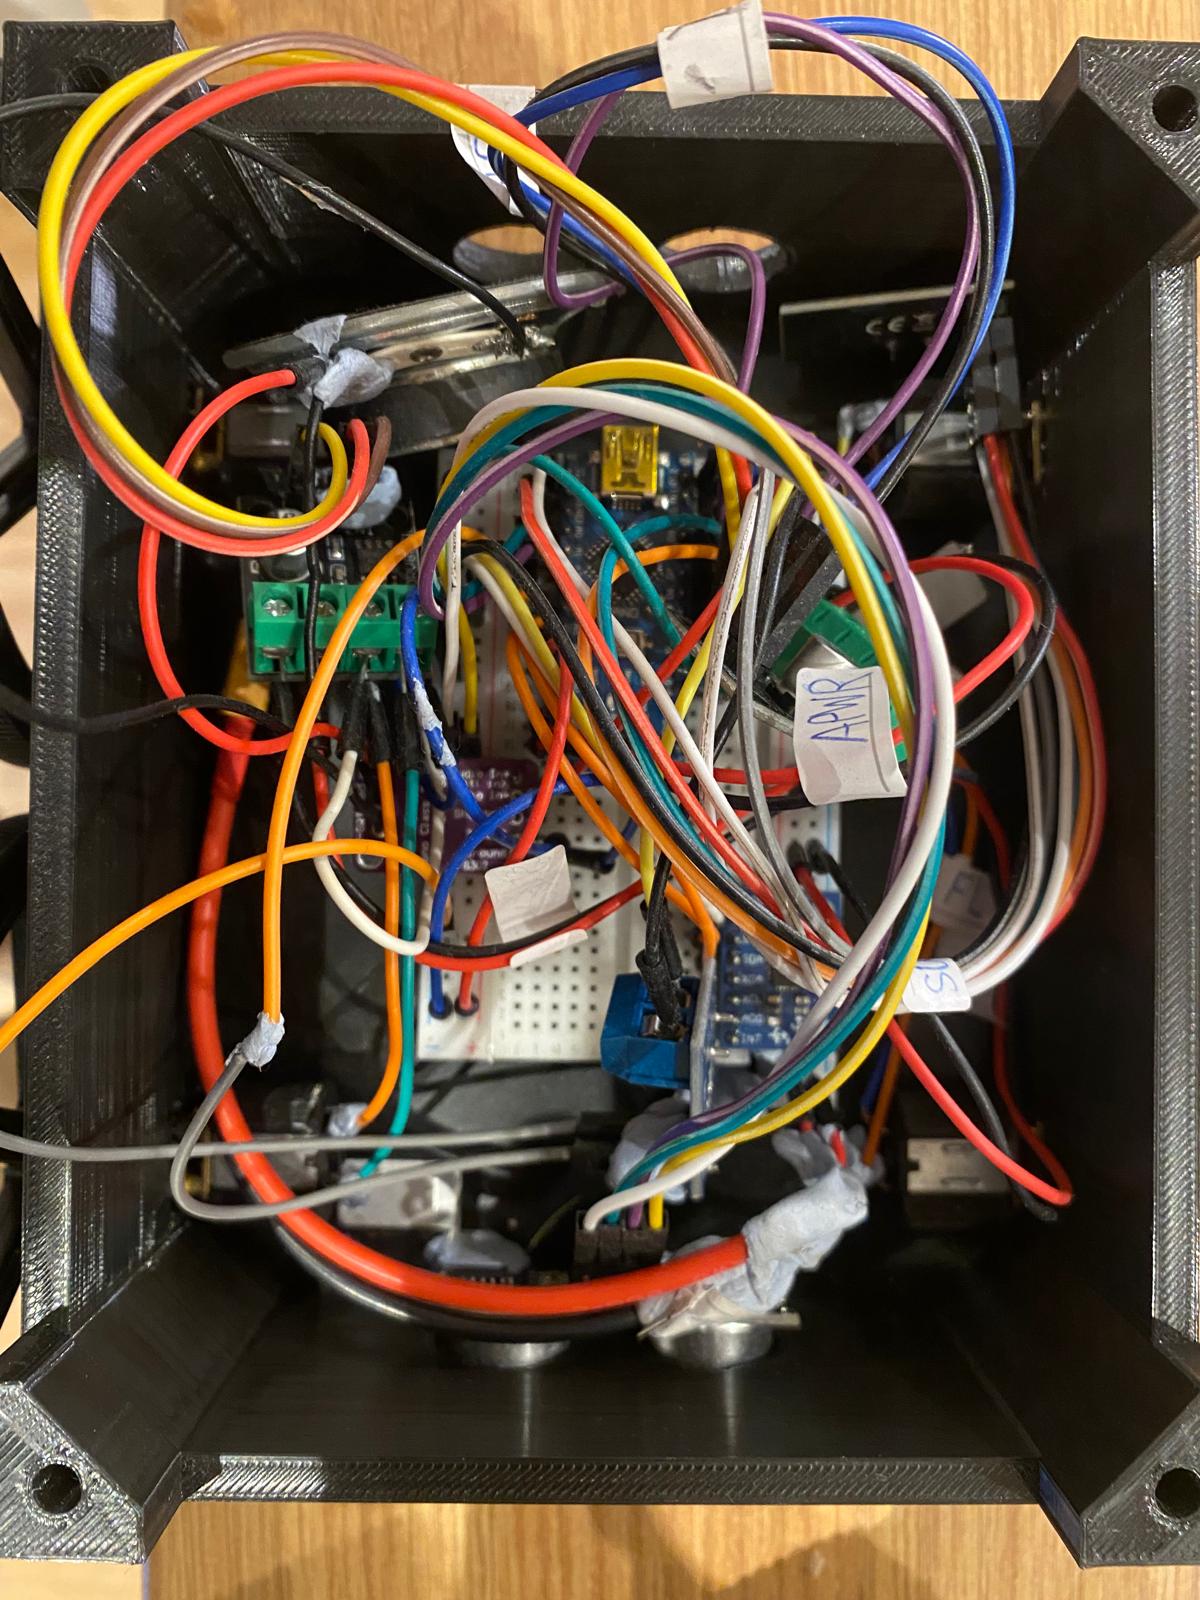
Construction
Used sticky-backed breadboards for wiring and placed it into the frame. The motor holders went several iterations to ensure the perfect click-in fit, and then I placed on the wheels.
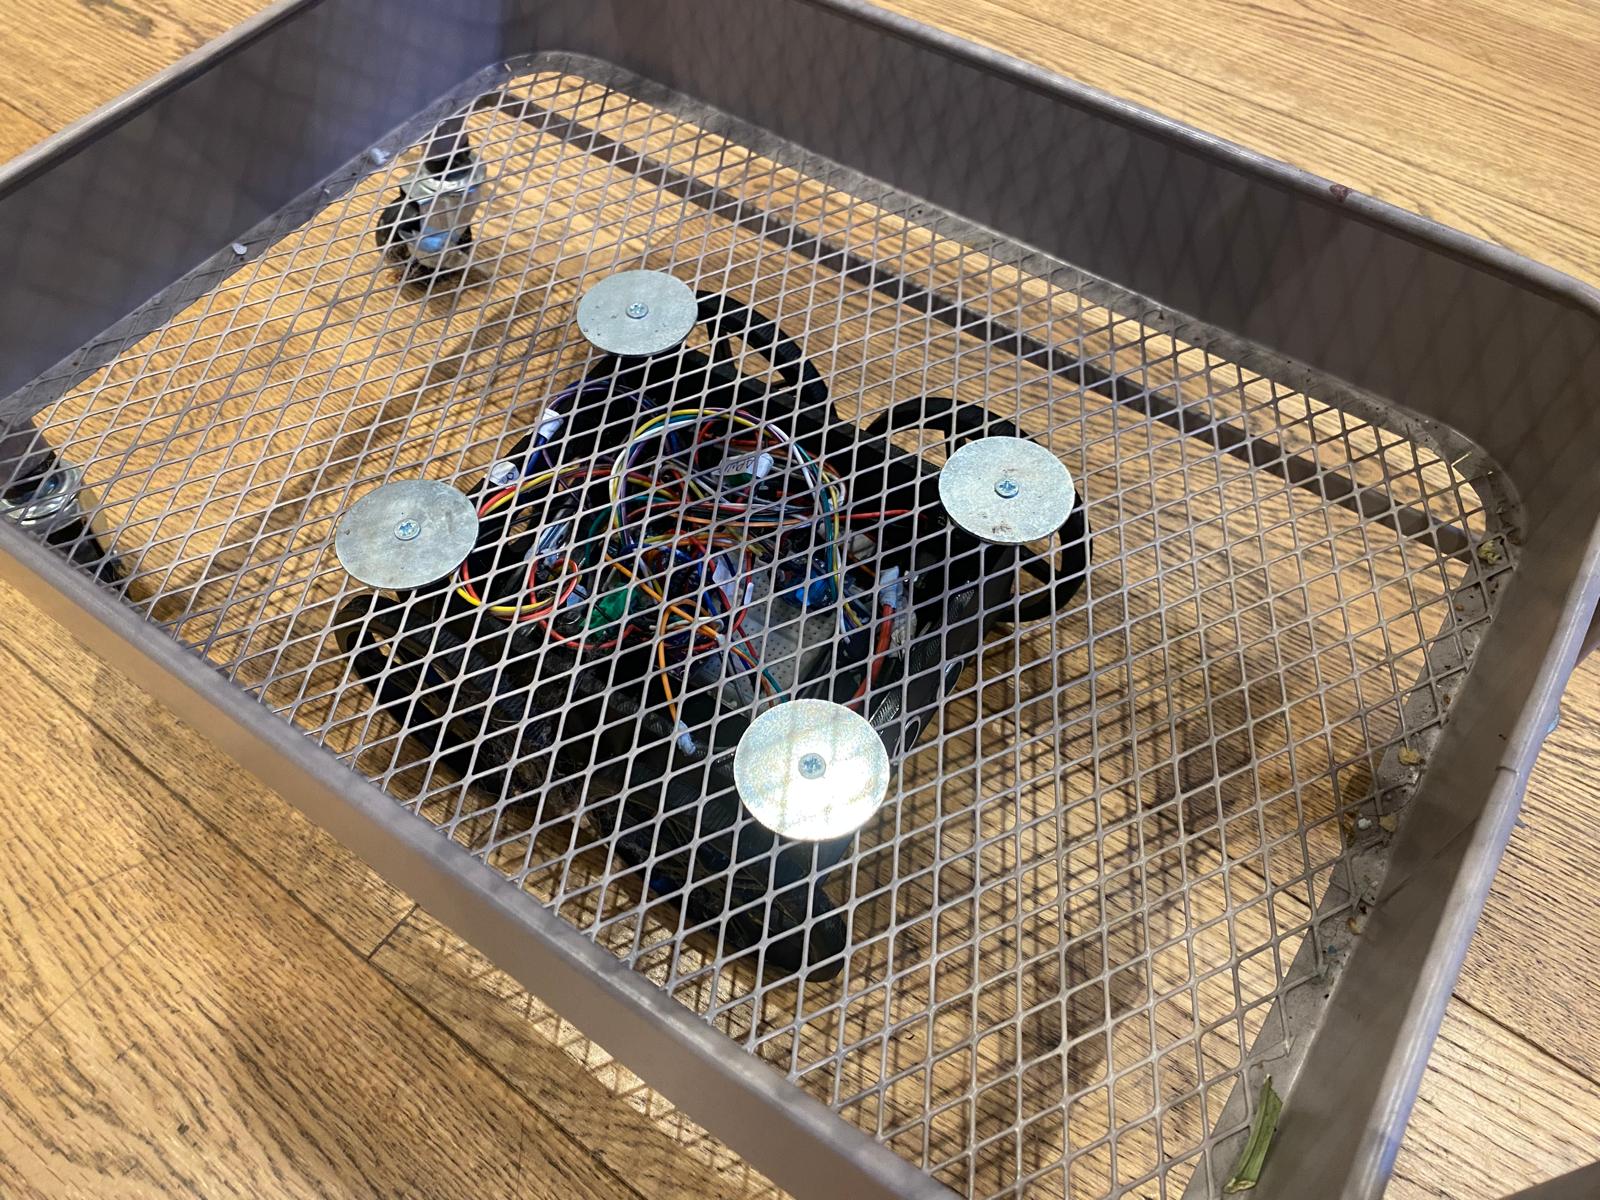
To mount it on to the trolley I used four bolts and washers, as shown in the images. And it drove!